Few household issues are as persistent as the sound of a dripping tap. Beyond the irritation, those steady drops add up quickly, wasting litres of water and driving up bills. For homeowners in Melbourne, where water conservation is a priority, learning the basics of leaking tap repair is not just a money-saving measure but also a step toward sustainable living.
What makes a tap leak? In most cases, it’s caused by worn-out washers, tired O-rings, or a faulty cartridge. While the causes are small, the consequences aren’t. Over time, a dripping tap can corrode fittings, stain sinks, and even encourage mould growth around damp areas. The good news is that most repairs are straightforward, requiring only simple tools and a little patience.
This guide takes you through everything you need to know about leaking tap repair in Melbourne, from identifying common causes to step-by-step DIY solutions, and when to call in professional help. By following these tips, you can save water, lower your bills, and safeguard your home from unnecessary damage, all while keeping your taps running smoothly.
Why Fix a Dripping Tap?
Dripping taps are more than a nuisance; they’re a costly waste. Water authorities emphasise that small fixes make a big impact. Fix leaking taps around the home because every drop counts. Collectively, simple fixes can save billions of litres. Even a few drips per minute can waste up to 12,000 L a year. That’s equivalent to dozens of showers or lawn-watering sessions gone to waste! Not only does this leak money down the drain, but it can also strain Melbourne’s supply and drive up bills.
On top of water waste, an unchecked leak can cause property damage. Constant dripping may corrode fittings or lead to mould in sinks and walls. By fixing leaks promptly, you save cash and help the environment, a real win-win.
Know Your Tap: Types of Leaks and Fixtures
Before diving under the sink, identify the tap type and the leak cause. Most home taps fall into two categories:
Compression (old-style) taps: These have separate hot and cold handles. Inside each is a rubber washer that seals the water flow. When the washer wears out or the seat gets pitted, the tap drips from the spout.
Cartridge/Mixer taps: Modern taps (single-lever or contemporary two-handle mixers) use a cartridge instead of a washer. Leaks can happen if the cartridge, or its O-rings and seals, fail. Often, you’ll see a dribble from the spout or a leak at the handle base.
Common causes of leaks include worn washers/O-rings, mineral buildup, or loose parts. The Australian Government notes that screwing handles too hard can squash the rubber washer and actually cause leaks. Treat your taps gently and inspect periodically.
Understanding your tap type helps choose the right fix. In Melbourne homes, you might have stainless steel or brass mixers, laundry taps, garden bibs, or even ceramic-disc valves, but the repair steps are similar. When in doubt, expect washers, O-rings, or cartridges to be the culprit.
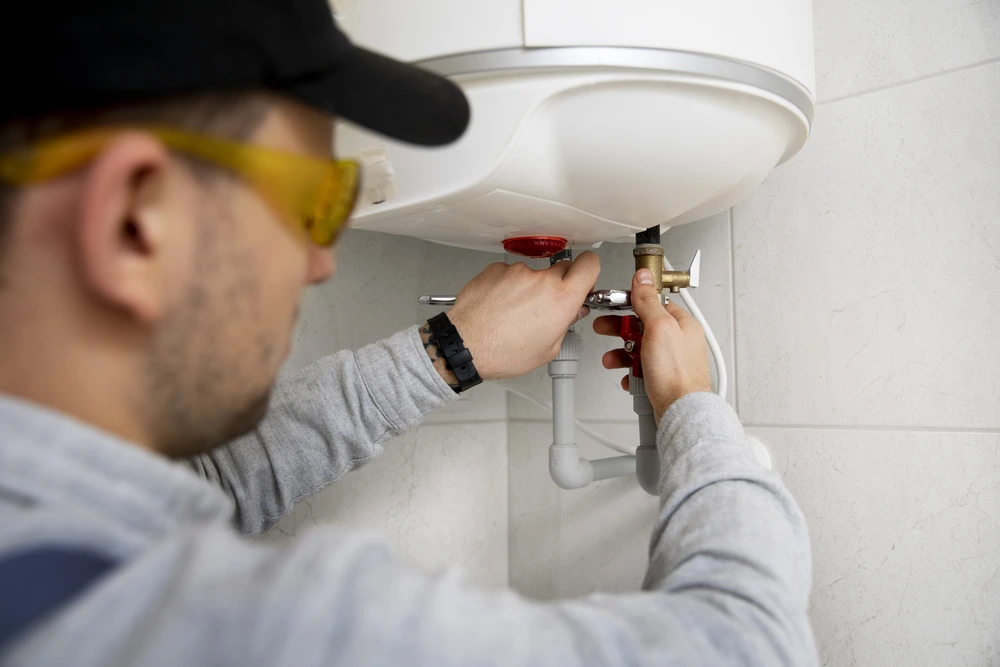
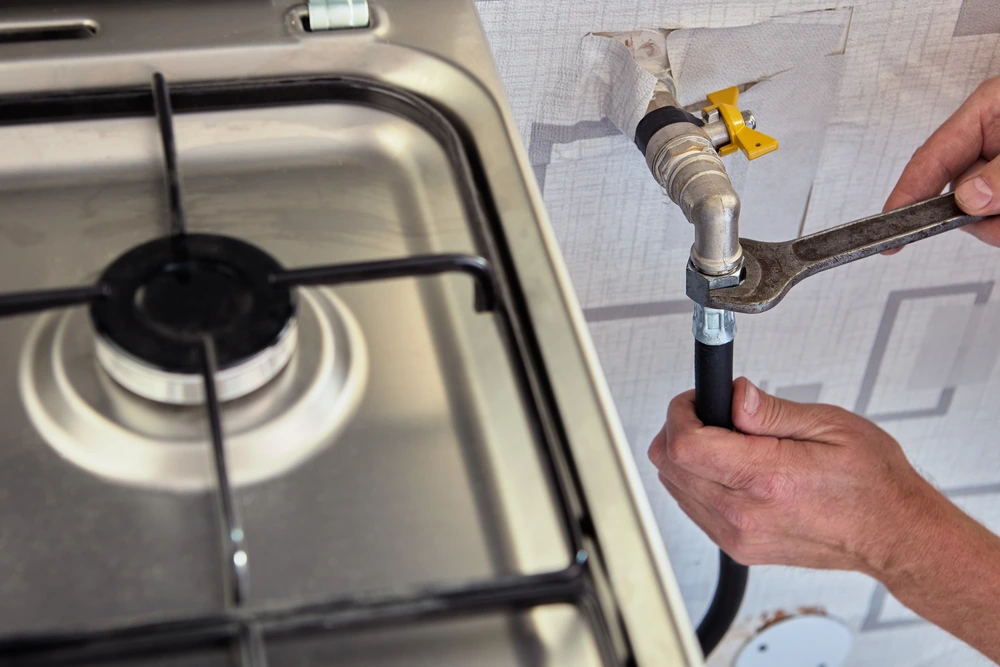
Safety First: Turn Off Water & Gather Tools
Before any repair, shut off the water supply. For kitchen or bathroom taps, turn off the local isolation valve or the meter stop cock. For peace of mind, shut off the mains and open the lowest tap to relieve pressure. This prevents a gusher if something breaks.
Keep a bucket or towel handy for residual water. Wear gloves and eye protection if the fittings are rusty.
Gather basic tools and supplies:
- Adjustable wrench or spanner (for hex nuts or retaining nuts).
- Flat-head and Phillips screwdrivers (for handle screws and covers).
- Replacement parts: a set of rubber washers, O-rings, and a tap-cartridge (if needed) that match your tap. (Hardware stores and Bunnings sell mixed tap repair kits.)
- Soft cloth (to protect polished tap surfaces).
- Plumber’s grease (optional, to lubricate new O-rings).
- Plumber’s reseating tool (optional, for flattening the valve seat under a washer).
With the water off and tools ready, you’re set to fix the leak.
Step-by-Step: Fixing a Leaking Tap
Below is a general repair process. The details vary by tap style, but the core idea is to disassemble the tap, replace the worn parts, then reassemble and test.
- Shut off water and test: Turn off the water supply and open the leaking tap to ensure water stops. If it doesn’t stop, the water wasn’t fully shut off, or the tap’s internal valve isn’t closing. In that case, double-check the shutoff or consider calling a plumber.
- Remove the handle: Look for a decorative cap or screw on the tap handle. Pry off the cap to reveal the screw. Unscrew and lift off the handle.
- Disassemble the tap housing: Depending on your tap, you may need to remove a bonnet or collar. Use the wrench to unscrew any retaining nut or cover. Take care not to strip fittings; protective cloths help. Once removed, you’ll expose the inner valve stem or cartridge.
- Inspect and replace parts:
- For old washer taps: Remove the spindle or valve stem. At the bottom, you’ll see a round rubber washer. Remove the old washer and replace it with an identical new one. Also, check and replace any O-ring on the spindle. If the brass seat inside the tap looks worn, you may use a valve reseating tool to flatten it, which gives the new washer a smooth surface.
- For cartridge/mixer taps: You’ll see a plastic cartridge or disc. Pull it out. Check any O-rings or seals on the cartridge and stem. Replace the entire cartridge if it’s worn.
- Kits usually include a variety of washers and O-rings, matched by size. If unsure, take the old washer to the store for a perfect match.
- Reassemble and test: Put everything back in reverse order. Screw the stem or cartridge back, then the bonnet or retaining nut, then the handle. Turn the water back on and test the tap. It should stay dry when off. If it’s still leaking, the washer or seal might be installed incorrectly, or a part didn’t seat right. Double-check your work.
Keep in mind that local workshops teach exactly these steps: “change a washer, O-ring and body washer” or “change a mixer tap cartridge” with the right tools.
DIY Tip: Replacing a Washer
If your tap is the old style, the rubber washer is often the drip source. Here’s a quick washer-replacement summary:
- After removing the tap stem, look under it for a small round washer stuck by a screw.
- Unscrew and discard the old washer and any paper under it.
- Put in the new washer of the same size; tighten its screw firmly but not overly tight.
- Smooth the valve seat with a reseating tool if available (or try inserting a penny between the washer and seat and turning it; a quick DIY hack).
- Test the tap; if it leaks, ensure the washer screw is snug and the seat is clean.
Repair vs. Replacement: What to Consider
Sometimes a tap is so old, corroded, or cheaply made that multiple leaks spring up. In that case, replacing the whole tap might be worthwhile. To help you decide, here’s a quick comparison:
| Option | Pros | Cons |
| Repair the existing tap | – Low cost (washers/O-rings ~$5–$20) – Quick fix – Eco-friendly | – May only delay problems if tthe ap is very old – You might still end up calling a plumber if issues persist |
| Replace with a new tap | – New look and function – Often more water-efficient – Fixes all issues at once | – Higher cost ($50–$200+ plus installation) – May require more time or a plumber’s help |
If your tap body is cracked, rusted through, or the leak continues after replacing parts, installing a new tap might save money in the long run. Modern taps can also reduce flow, and they come with new warranties. However, for a simple drip, DIY repair is usually far cheaper and quicker.
When to Call a Plumber
While many leaks are DIY-friendly, know your limits. You should call a licensed plumber if:
- You can’t stop the water: If closing the shut-off valve doesn’t stop the leak at all, there may be a bigger issue.
- It’s more than a drip: Gushing water or leaks on the wall/floor indicate a burst fitting or hidden pipe leak.
- Complex valves: Some modern taps have ceramic discs or integrated mixers that are tricky to handle without special tools.
- It’s out of your depth: If you’ve tried swapping washers and the leak persists, a plumber has the gadgets and experience to find the fault.
Conclusion
Addressing a dripping or leaking tap promptly is more than a minor household task; it’s a way to conserve water, save money, and prevent potential property damage. By understanding the common causes of leaks, from worn washers and faulty O-rings to cartridge issues, homeowners in Melbourne can take effective steps to maintain their taps.
Most leaking taps can be fixed with simple DIY techniques, such as replacing washers, O-rings, or cartridges. By following step-by-step guidance and recognising when professional help is necessary, you can address leaks safely and confidently while protecting your home from long-term damage.
For any persistent or emergency leaking tap issues, don’t wait; contact Diverse Plumbing and Gas. Our expert team in Melbourne offers reliable and efficient tap repair services, ensuring your plumbing is safe, functional, and worry-free. Request a quote today and take the first step toward a leak-free home.
FAQs:
Should I call a plumber or attempt DIY first?
Simple dripping taps, often caused by worn washers or O-rings, can often be fixed with DIY methods. However, if the leak persists, involves a cartridge, or causes flooding, calling a licensed plumber ensures a safe, effective, and lasting repair.
Do plumbers in Melbourne provide emergency leaking tap repair?
Yes, licensed plumbers in Melbourne offer emergency leaking tap repair services. Whether it’s a burst tap or a persistent drip causing water waste, professional plumbers can quickly isolate the issue, replace faulty components, and prevent property damage.
How quickly can a leaking tap be fixed?
Most minor leaking taps can be repaired within 30–60 minutes, depending on access and parts availability. Emergency repairs may be completed the same day by professional services to prevent further water damage.